Knowledgebase: Spam Experts

How to Manage Whitelists or Blacklists in Spam Experts

Posted by on October 19 2015 03:29 PM

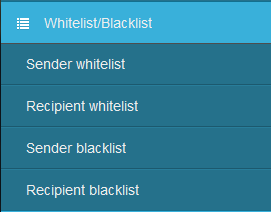
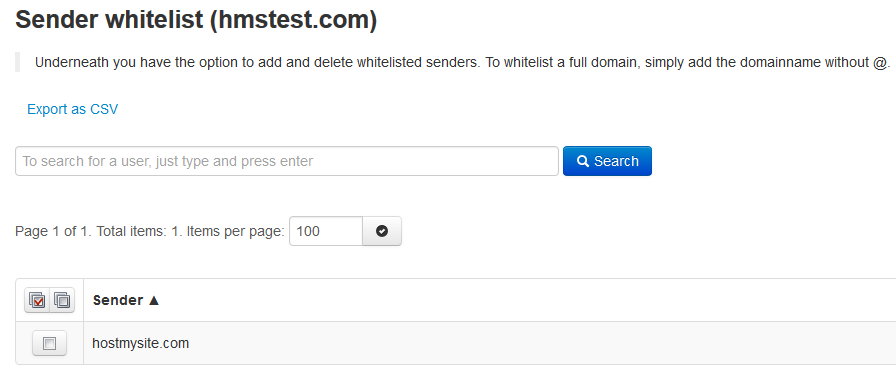
The Sender White and Black lists are the lists that the administrator can use to block or accept messages on a domain wide level. If you need to ensure that specific email addresses or domains will always be allowed to pass through the filter, or if you need to ensure they are always blocked by the filter, then you will use the Spam Experts whitelist and blacklist options.

  • From the Spam Experts web interface, scroll down to the Whitelist/Blacklist section on the menu bar. You will see a few options:
    • Use the Sender Whitelist to create trusted senders or domains whose messages will never be blocked.
    • Use the Recipient Whitelist to disable spam filtering for one of your email addresses.
    • Use the Sender Blacklist to block all mail from certain email addresses and domain names.
    • Use the Recipient Blacklist to block all mail sent to one of your email addresses. It may be wiser to simply delete this email account.

  • To add users or domains to any of these lists, simply click on the desired menu option. This will take you to a page where you will be able to enter the email addresses or domains that should be whitelisted or blacklisted. For this example, we will whitelist all mail sent from hostmysite.com.

  • Enter the full email address OR the domain, then click the Add button.

  • The new entry will now show in the list on this page.

If you have any other questions about Spam Experts that were not addressed in this article, please see the Spam Experts online Knowledge Base for further information.

(2 vote(s))
This article was helpful
This article was not helpful

Comments (0)
Copyright © 2016 HostMySite