Live Chat Software by Kayako |
Configuring a Split or Hybrid Domain in ExchangePosted by on February 20 2013 09:26 PM
|
|
|
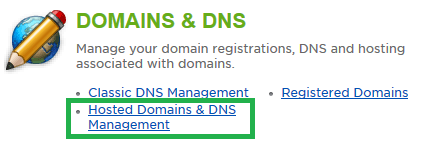
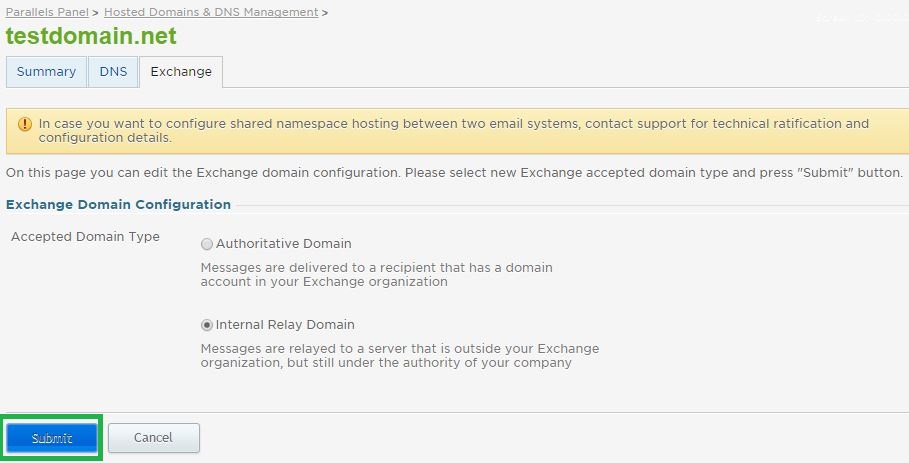
A split or hybrid domain will allow you to have some mailboxes configured in Hosted Exchange while other mailboxes reside in another mail system such as our SmarterMail environment or a VPS. When a split domain is configured, intra-domain mail must flow between Exchange and your non-Exchange system without issue. To accomplish this, it is necessary to forward messages from your non-Exchange mail system to Exchange. Exchange will be configured to look externally if it cannot find a particular mailbox within its directory. This article assumes that you are already familiar with how to log in to the customer control panel. If you do not know how to log in or have forgotten your password, please refer to this article first. There are four steps to completing the split domain configuration: Add Instant URL Email Address to Exchange Mailbox Configure Mail Forwarding to Exchange
Add Instant URL Email Address to Exchange Mailbox: Now that Exchange will know to look externally for non-Exchange mailboxes, you will need to attach additional e-mail addresses to each mailbox. These e-mail addresses will be used by the non-Exchange mail system to forward mail to Exchange mailboxes. Steps to add email addresses to an existing Exchange mailbox can be found here: How to Add Another Email Address to an Exchange Mailbox Note: Be sure to select the d#####.exch.instanturl.net domain name from the drop down when adding this email address. This domain will always point to the Exchange environment. You will repeat these steps for the rest of your Exchange users.
Configure Mail Forwarding to Exchange: You will now need to log in to your non-Exchange email system to configure mail forwarding for your Exchange users. Each mailbox that exists in Exchange will also need to exist in your non-Exchange mail system. For users in our SmarterMail environment, we recommend creating aliases for each Exchange user within SmarterMail. If they exist as SmarterMail users already, you must delete the user first before creating the alias. These aliases will need to be configured to send to the user@d####.exch.instanturl.net e-mail addresses created in the above steps. If you will be using an alternate mail provider, please consult their specific instructions for configuring forwarding addresses.
As a final step, ensure that your domain's MX Records are pointing to your non-Exchange environment. Mail will now flow to your non-Exchange environment first. If messages are being sent to a user who exists in Exchange, it will be forwarded to the Exchange system via the forward configured in the above step. If you have any further questions that were not answered in this article, please contact us. | |
|
|
|