Live Chat Software by Kayako |
Knowledgebase: Shared Hosting
How to Enable a Shared SSL for a Windows WebsitePosted by Erin McDuffy on July 19 2016 08:40 AM
|
|
|
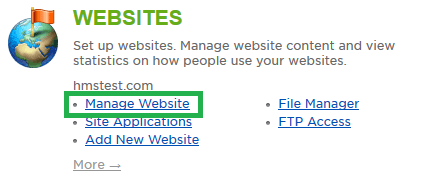
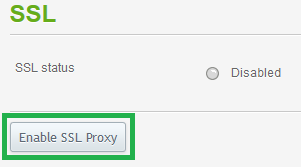
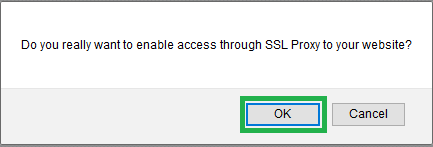
If you do not wish to purchase a dedicated SSL certificate for your website, you have the option of using a shared SSL. If enabled, you will use a special URL for any pages that you want to be secured via this SSL. This URL functions as a proxy to the site, which uses the server's SSL certificate to secure traffic to the website. This article assumes that you are already familiar with how to log in to the customer control panel. If you do not know how to log in or have forgotten your password, please refer to this article first.
Note: If you do not have an SSL option, please contact support and we will assist you. If you have any further questions that were not answered in this article, please contact us.
| |
|
|
|