|
SiteBackup allows you to back up your database on demand or on a specific schedule, depending on your needs. This article provides instructions on creating a new "backup profile" which will schedule backups for your database. For information on how to create a backup profile, please see this article: How to Create an On-Demand Database Backup
- From the SiteBackup dashboard, click the Add Database button on the top right of the page.

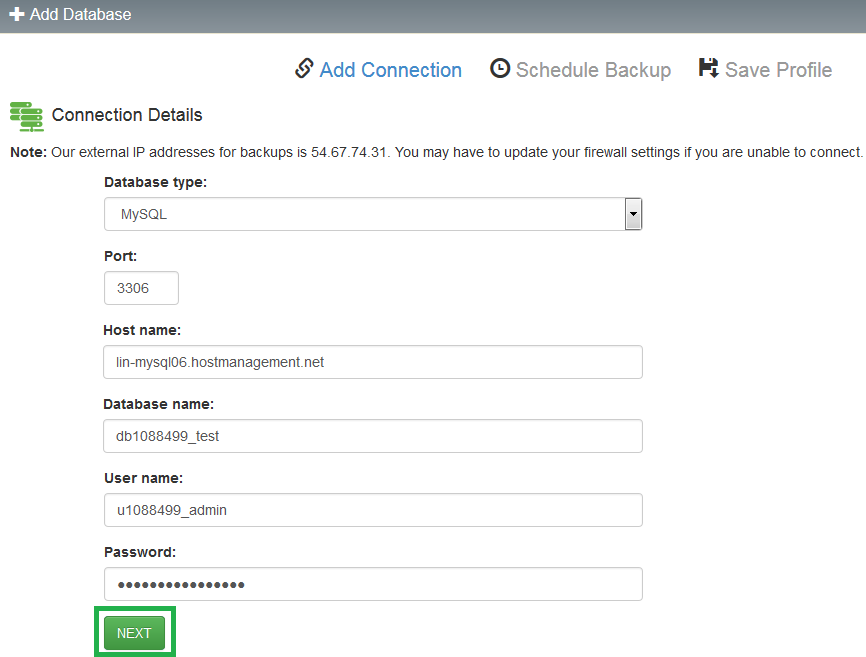
- Select your database type. Once selected, the port will automatically be set for you. Enter your database name, the server host name, user name, and password. Click Next.
- Once connected to the server, you will see a list of all tables in the database. Select a retention period (how many backups you will keep at a time), a frequency (how often your database will be backed up), a start time (a specific time the backup process should begin), and your time zone. Click Next.

- Create a name for this backup profile (this will help you to keep track of different backup schedules, or of different databases you will be backing up. Review the previously configured settings, choose whether you wish to back up the site now (leaving this box unchecked will just start a backup on the schedule you specified), then click Save.

- You will be taken back to the dashboard, and the new backup profile will be listed under the Databases section.

If you have any further questions that were not answered in this article, please contact us.
| 