|
Your Azure Cloud subscription allows you to create and manage virtual machines on the fly. You can quickly and easily change any virtual machine's resources with a few clicks from the Azure Portal.
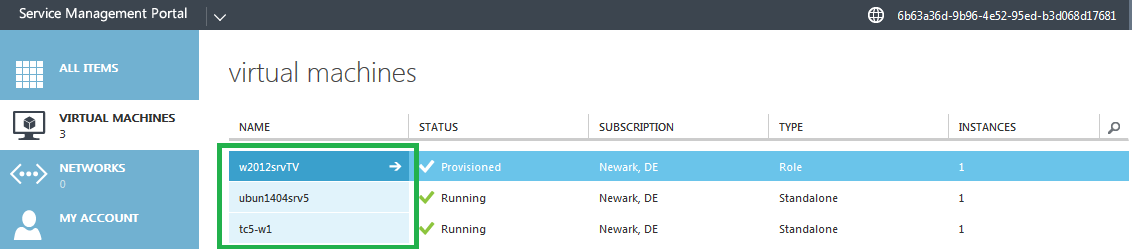
- From the Azure Service Management Portal, click the name of the virtual machine you want to update.
- The virtual machine must be in a stopped state before its resources can be adjusted.This is done by clicking the Stop button on the bottom of the virtual machine dashboard.

- Click Yes to confirm you wish to stop the virtual machine.

- You will see a notice pop up that says "Stopping virtual machine". Wait for this to complete before proceeding.

- Click on the Configure tab on the top of the page. You will now be able to scale various resources, such as number of cores, RAM, disk space, or networks.

- To change the number of cores or RAM on the virtual machine, use the drop down menu. Make your selections, then click the save button on the bottom of the screen.
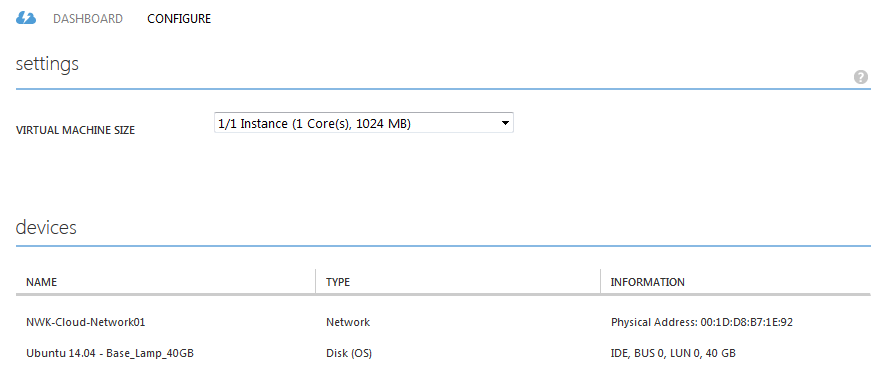
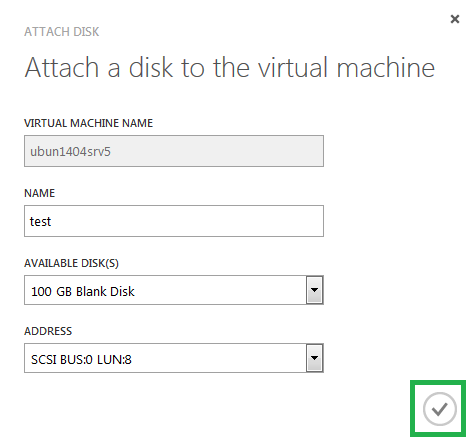
- To change disk and network resources for a virtual machine, click on a device name in the devices section, then you can attach, detach, or expand (only for disks) devices as necessary using the respective Attach, Detach, or Expand commands from the command bar.
- Go back to the Dashboard page and start the virtual machine with your new changes applied.

If you have any further questions that were not answered in this article, please contact us.
| 