|
On your shared hosting subscription, you have the option to easily install any of a variety of applications on your site, with only a few clicks in the control panel. We offer many types of applications, such as WordPress, Joomla, Drupal, phpBB, and a variety of shopping carts. The steps to install any of these applications will be the same if you are using the easy install options in the customer control panel. This article will review a single application install, the steps for which will apply to the full list available in the control panel.
This article assumes that you are already familiar with how to log in to the customer control panel. If you do not know how to log in or have forgotten your password, please refer to this article first.
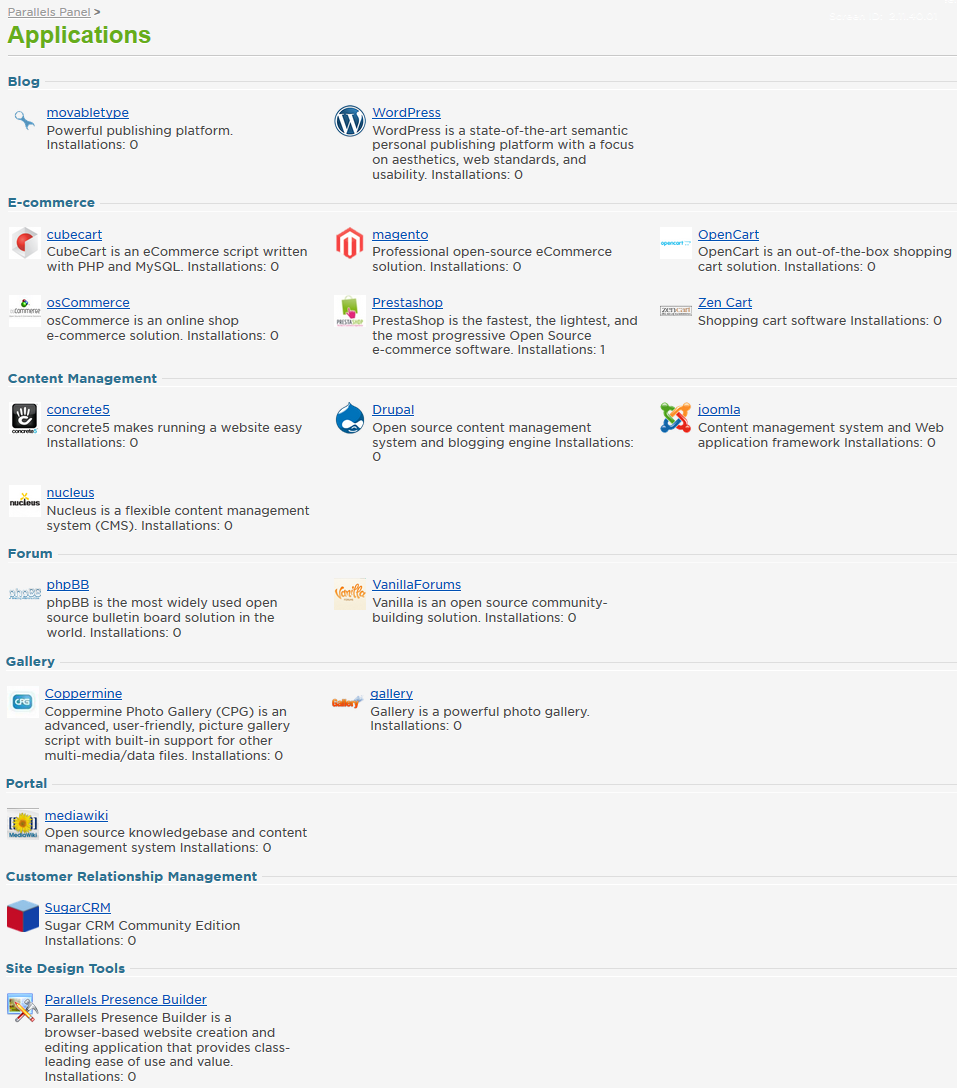
- In the control panel, click on the Applications tab.

- You will be presented with a list of the available applications that can be installed on your plan. These applications are grouped into separate categories, for ease of navigation (blog, e-commerce, content management, forum, gallery, portal, customer relationship management, and site design tools).
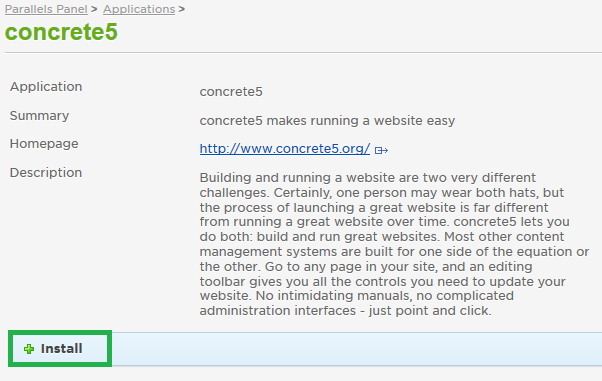
- Click the name of the application you wish to install. For this example, I have selected concrete5.

- You will see a description summary of the application selected. Click the Install button to start.
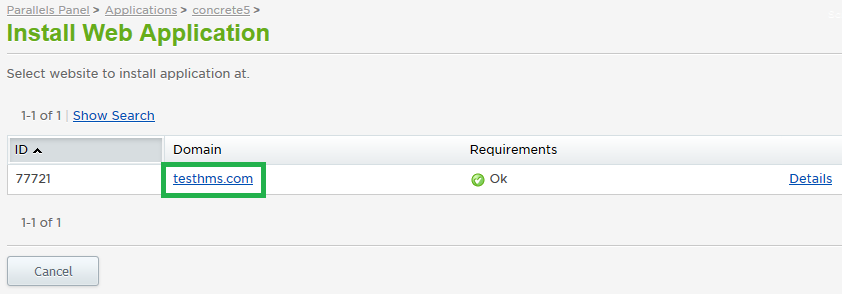
- Click the domain name of the website which will host this new application.
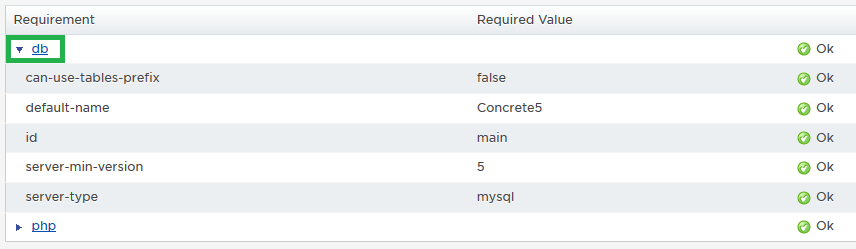
- You should see a green check mark and an "Ok" status for the requirements on this page. Click Next if so.
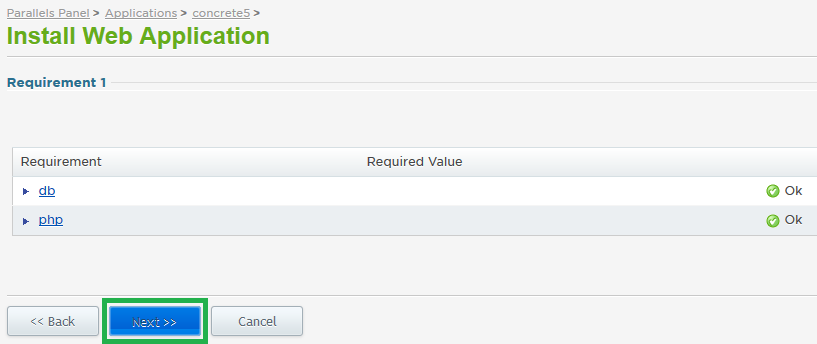
- If either shows as failed, click the arrow to the left of the requirement's name -- this will provide specific information on what needs to be fixed in order to complete the application installation. Once those issues are addressed, you can resume with the install.
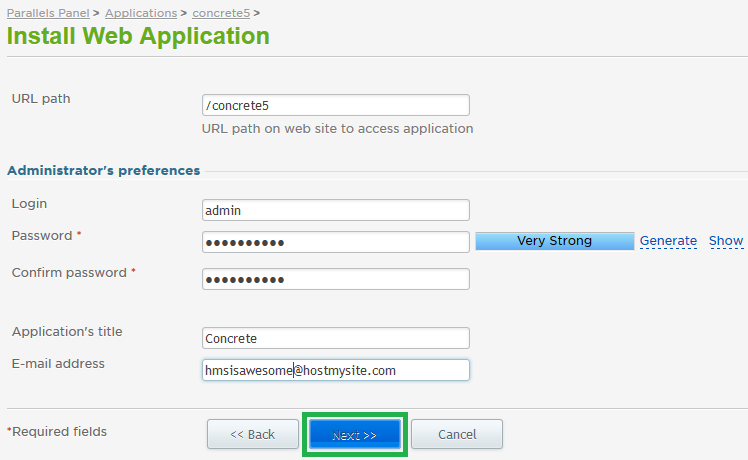
- Enter the URL path where the application should be installed. This will be appended to your domain name when accessing the application in a browser. To install the application on the root of your site, enter / with no additional data. For this example, the URL path is /conrete5, meaning the full URL path to this application will be http://testhms.com/concrete5.
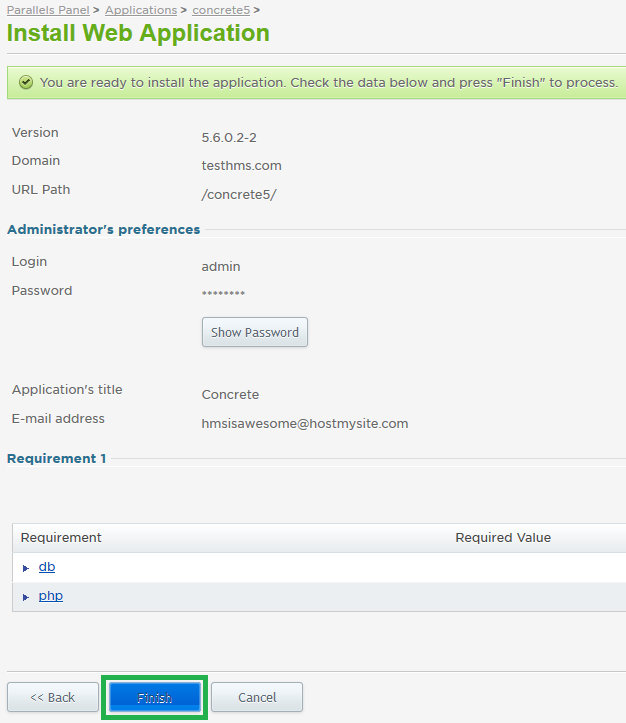
- Review to ensure everything looks correct, then click the Finish button. It may take a few minutes for the installation to complete. If needed, the application will install both files on the web server (under a siteapps directory) and a database which can be managed from the control panel.
If you have any further questions that were not answered in this article, please contact us.
Save
| 