|
When you sign up for a VPS plan, your server will be assigned a primary IP address. If you find that you need more than this single IP, you can assign additional IP addresses to your VPS via the customer control panel. Once the new IP is bound to the server, you will be able to log in to your server and utilize the IP for any specific sites or services, as needed. Assigning a new IP is a two-part process, which includes ordering the IP and then selecting the IP address to be bound to the server.
This article assumes that you are already familiar with how to log in to the customer control panel. If you do not know how to log in or have forgotten your password, please refer to this article first.
Order an IP
Assign an IP
Order an IP
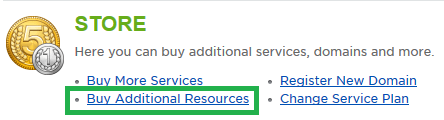
- On the control panel Home tab, click "Buy Additional Resources" under the Store section.
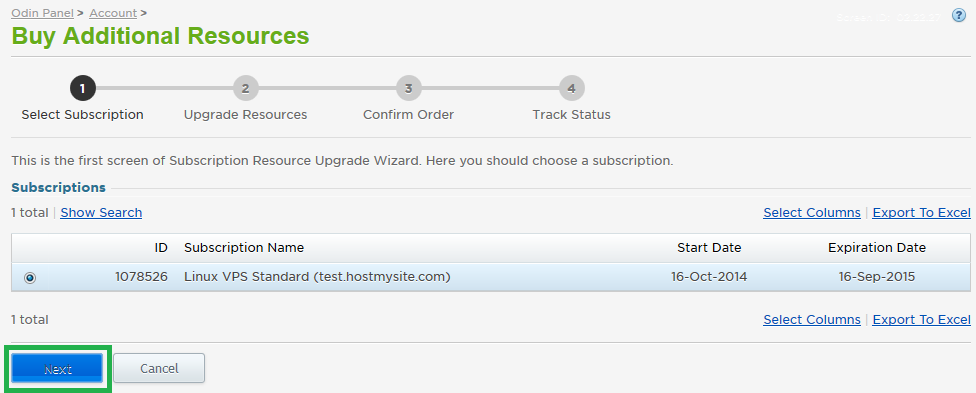
- Select your VPS subscription from the list and click Next.
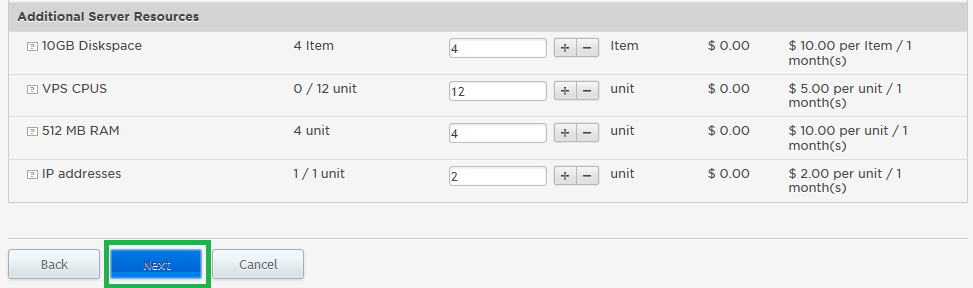
- Under the Additional Server Resources section, click the + button on the IP Addresses line to increase the allocated number of IPs on your plan. The total will be your existing limit, plus the number you wish to add (for this example, we already have the server's primary IP and wish to add a second IP address, so the total is 2). Click Next.
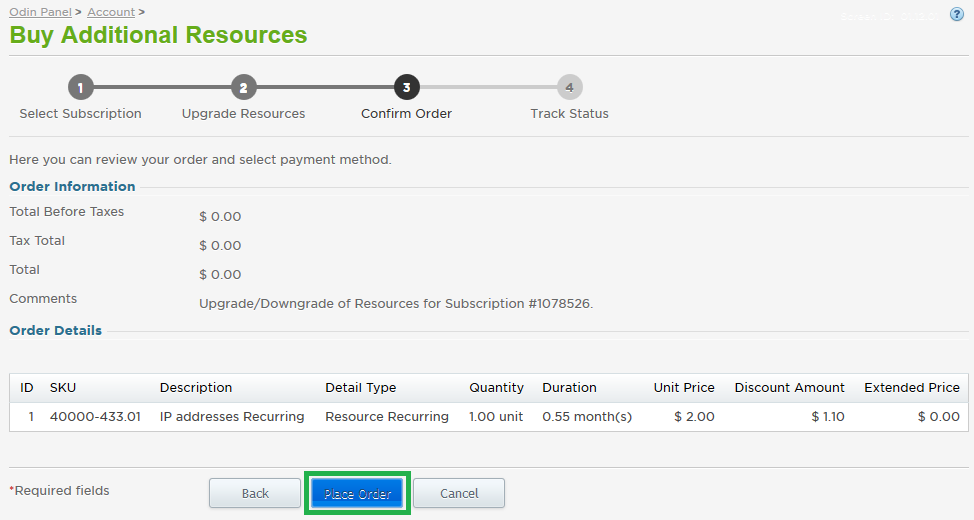
- Review the order and select your payment method from the drop down menu. Click the Place Order button.
Assign an IP
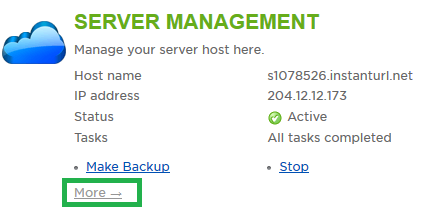
- On the control panel Home tab, click "More" under the Server Management section.
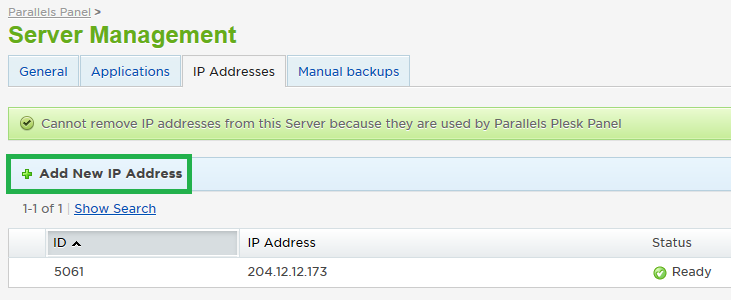
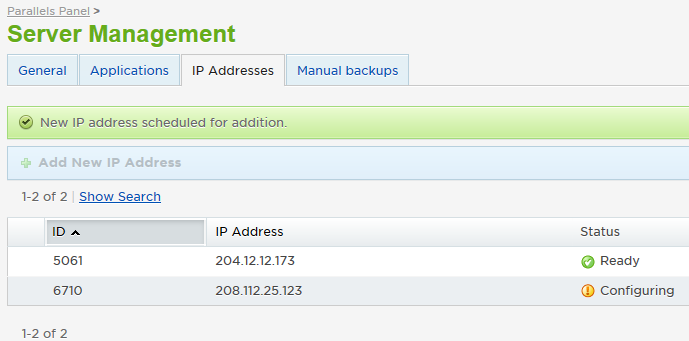
- From the IP Addresses tab, click "Add New IP Address".
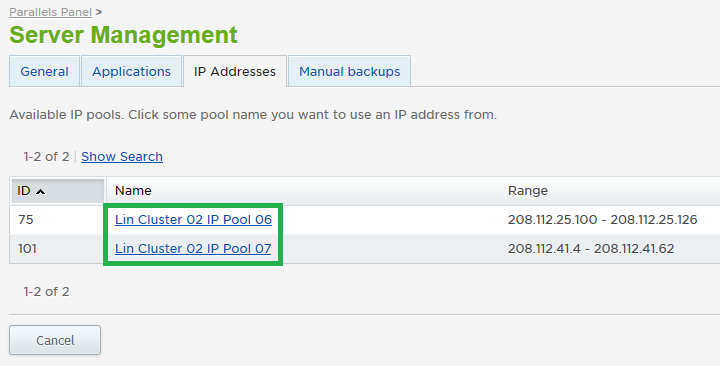
- Click on the name of either of the available IP Pools. To the right of the names, you will be shown the IP range for each pool. This allows you to choose which IP range the new address will be in.
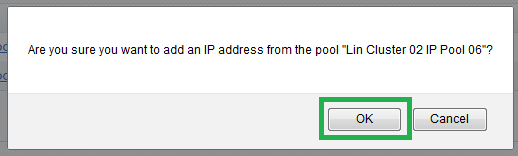
- In the pop up box, click OK to confirm addition of the IP from the selected IP pool.
- You will be taken back to the main IP Addresses tab, and the IP will show as "Configuring". This should only take a few minutes to complete. Click the refresh icon on the top right to confirm once the configuration is completed.
If you have any further questions that were not answered in this article, please contact us.
| 