Live Chat Software by Kayako |
How to Add an Alias in Open-XchangePosted by Michael Mawhinney on June 24 2015 11:20 AM
|
|
|
You can add additional email addresses, or email aliases, to individual mailboxes. This allows you to use the same mailbox with different domain names. For example, imagine you use "domain-one.com" as your primary domain name, and add "domain-two.com" as a secondary domain name. You can setup a mailbox, say for user Harry, to use both domain names to send and receive email: harry@domain-one.com and harry@domain-two.com. This article assumes that you are already familiar with how to log in to the customer control panel. If you do not know how to log in or have forgotten your password, please refer to this article first. To Make a Domain Name Available for Email Aliases:
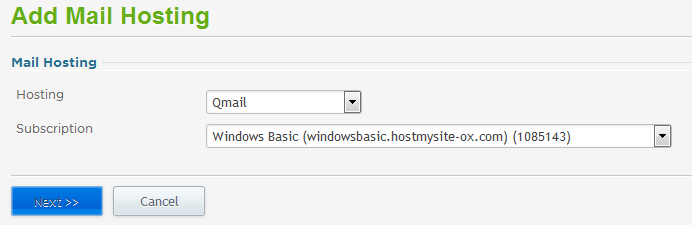
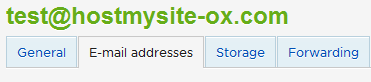
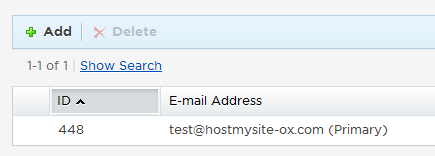
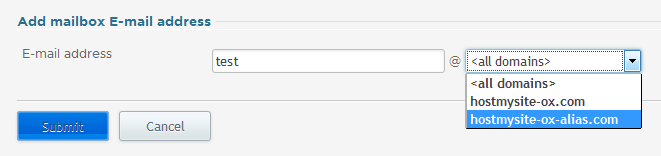
To Add Additional Email Addresses Using the New Domain:
If you have any further questions that were not answered in this article, please contact us. | |
|
|
|