|
Resource mailboxes are used in Exchange to assist with scheduling of company resources such as conference rooms or equipment. By including a resource mailbox in a meeting request, the resource will automatically accept or deny the request based on availability and scheduling conflicts. Two different types of resource mailboxes exist within Exchange: Room Mailboxes (conference rooms, training rooms, theaters, or other shared spaces) and Equipment Mailboxes (A/V equipment, vehicles, shared IT equipment, etc.). Before adding a new resource mailbox, you must first verify your Exchange account has storage available for the mailbox.
This article assumes that you are already familiar with how to log in to the customer control panel. If you do not know how to log in or have forgotten your password, please refer to this article first.
Verify Available Storage
Add Resource Mailbox
Verify Available Storage:
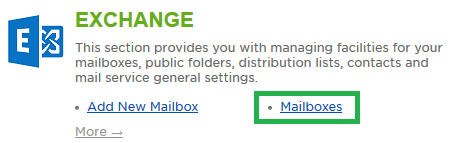
- On the control panel Home tab, click "Mailboxes" under the Exchange section.
- Select the Storage Usage Report tab.
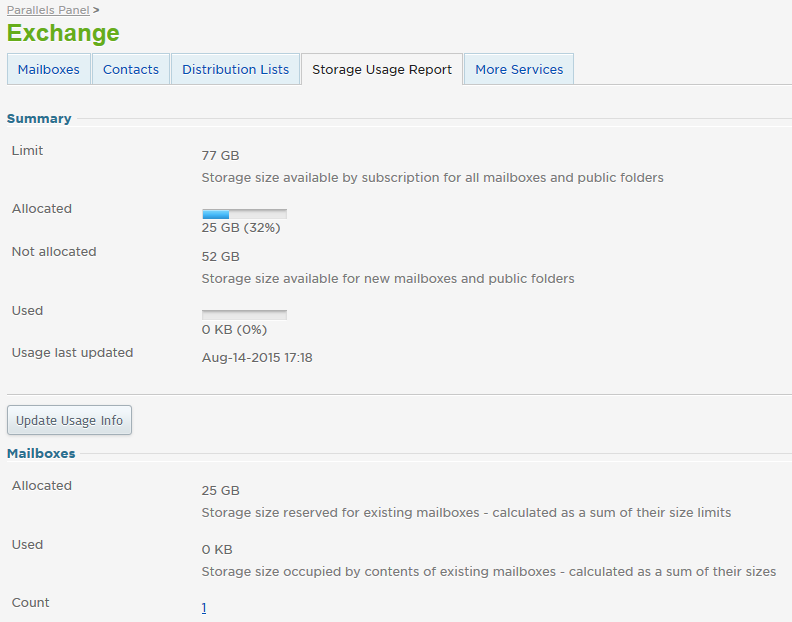
- In most cases, this screen will show 100% of your storage as allocated. This is because mailboxes are provisioned with their maximum storage limits. If your allocated storage is less than 100%, you can continue to add a resource mailbox. If your storage is 100% utilized, you will need to make a change to the allocated storage limits:
- Adjust the storage limits of a mailbox: If a mailbox is not utilizing all of its available storage, you can reclaim some of the free space for other uses, such as resource mailboxes.
-
Purchase an additional mailbox: Mailboxes include both the ability to add an additional mailbox user, as well as the storage space that that user may require. This storage space can be used for other purposes, such as resource mailboxes.
Add Resource Mailbox:
- On the control panel Home tab, click "Mailboxes" under the Exchange section.
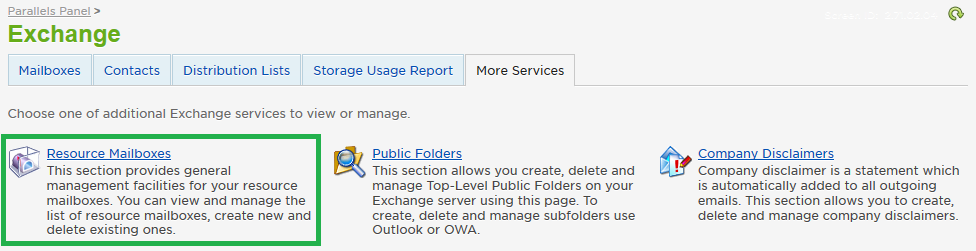
- Go to the More Services tab, then select "Resource Mailboxes".
- Click "Add New Resource Mailbox".

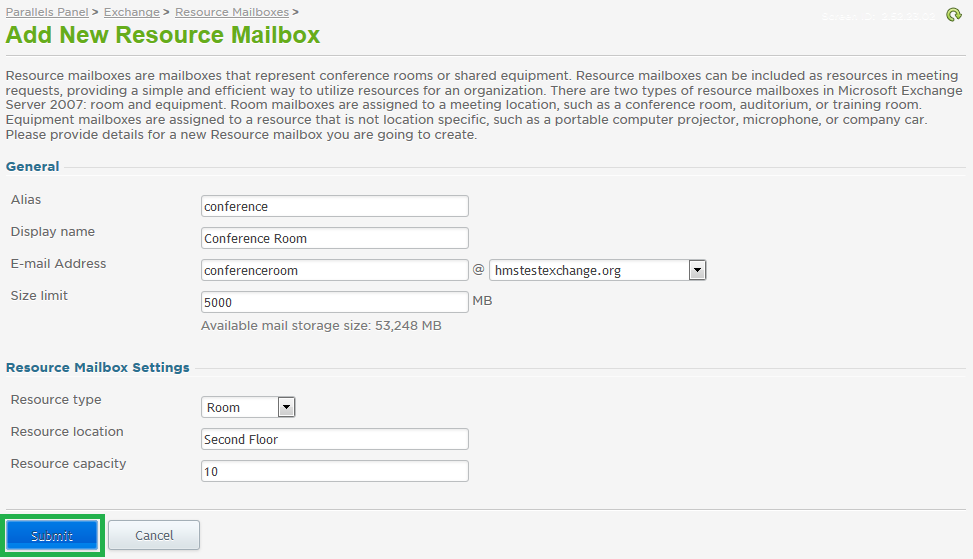
- Enter the alias of the mailbox (unique name), the display name, the email address to create, and size limit. Ensure you select the correct domain from the drop down menu. Under Resource Mailbox Settings, select the resource type and then provide a location and capacity (optional). Click Submit. Once the resource mailbox is created, you can configure the General, Policy, and Privacy Settings per your organization's requirements.
If you have any further questions that were not answered in this article, please contact us.
| 