|
This article will walk you through the steps to add a DNS record for your domain.
This article assumes that you are already familiar with how to log in to the customer control panel. If you do not know how to log in or have forgotten your password, please refer to this article first.
- On the control panel Home tab, click "Hosted Domains & DNS Management" under the Domains & DNS section.

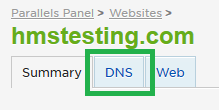
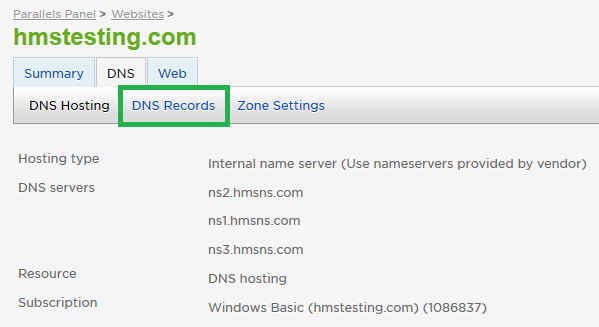
- Click the domain you want to update, then click on the DNS tab.


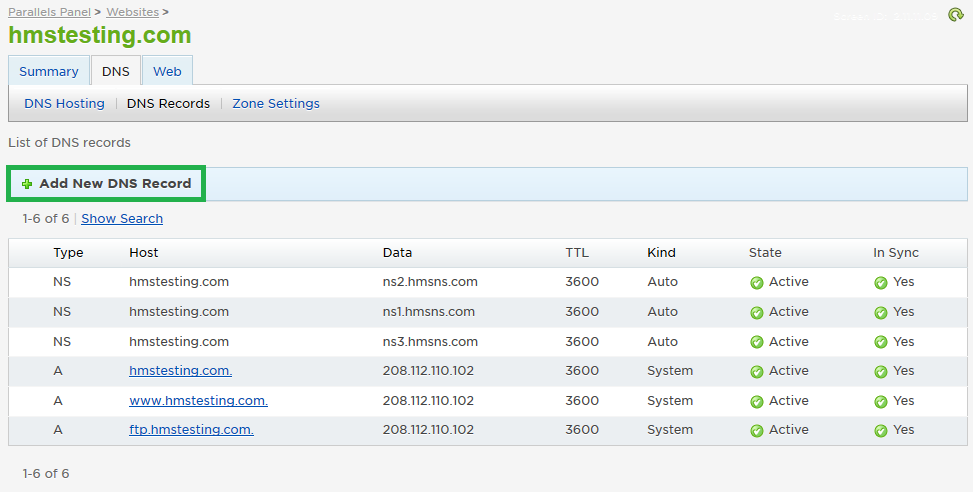
- Click "Add New DNS Record". (If the record already exists, you will need to Deactivate the original record first by clicking the link and selecting Deactivate on the next page.)

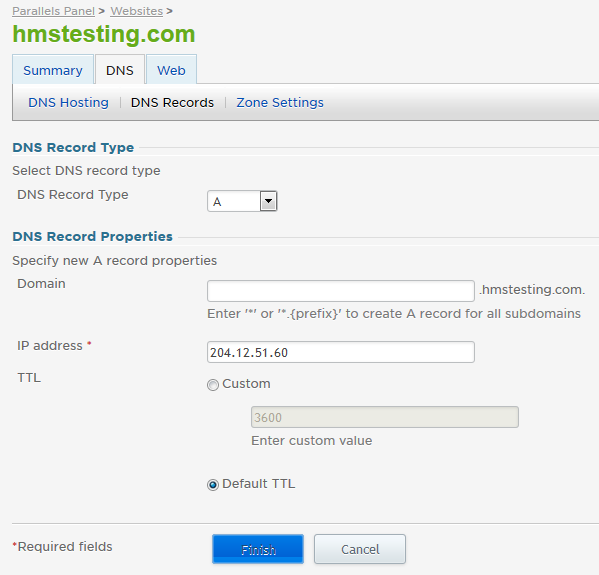
- From the drop-down menu, select the kind of record you would like to add. Fill in the requested information. This will change depending upon the kind of record added. Press the button labelled "Finish" when you are ready to add the new record to your DNS zone.
- A - Points to an IPv4 address (ex. 123.123.123.123)
- AAAA - Points to an IPv6 address
- CNAME - This is an alias for one domain to point to another.
- MX - Mail exchange record
- NS - Name server record
- SRV - A service location record (SRV record) defines the hostname and port number of servers for a particular service. See http://en.wikipedia.org/wiki/SRV_record for more information.
- TXT - This is also called an SPF record. According to http://en.wikipedia.org/wiki/Sender_Policy_Framework, "SPF allows administrators to specify which hosts are allowed to send mail from a given domain by creating a specific SPF record (or TXT record) in the Domain Name System (DNS). Mail exchangers use the DNS to check that mail from a given domain is being sent by a host sanctioned by that domain's administrators."

If you have any further questions that were not answered in this article, please contact us.
| 
