Knowledgebase: Administration

How to Upgrade an Open-Xchange Mailbox Plan

Posted by Michael Mawhinney on May 20 2015 09:56 AM

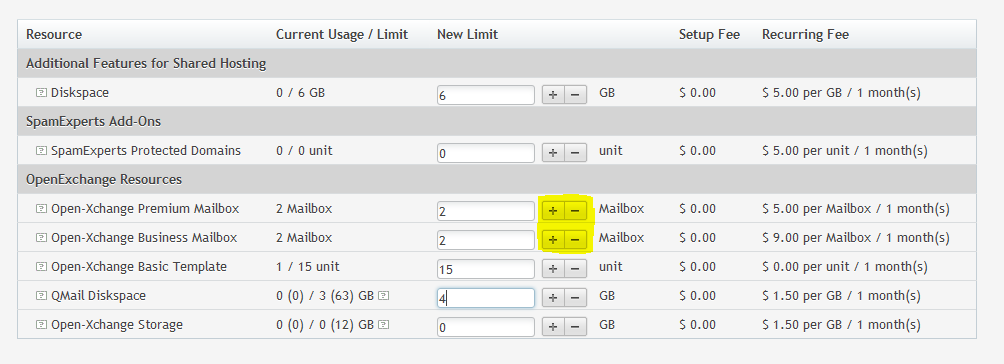
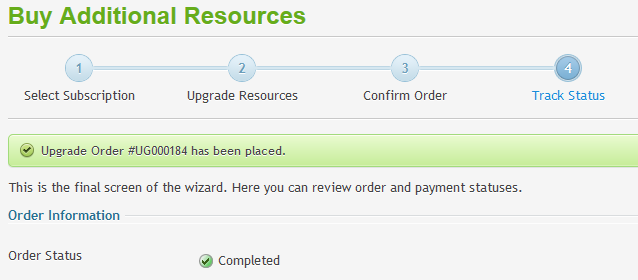
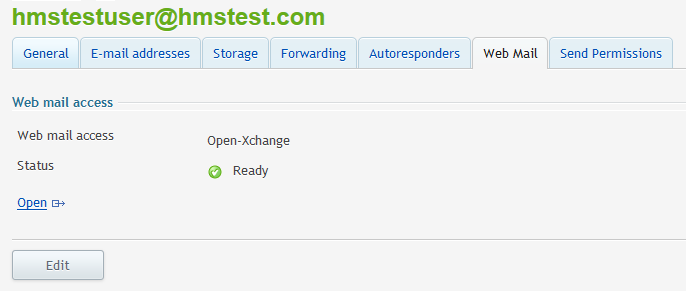
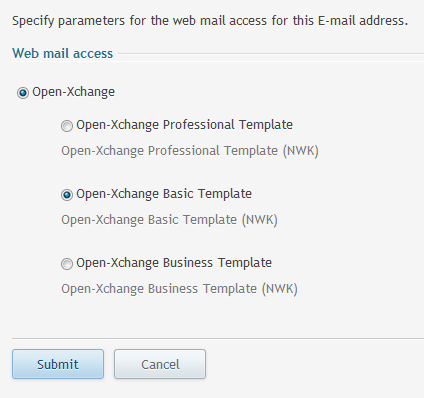
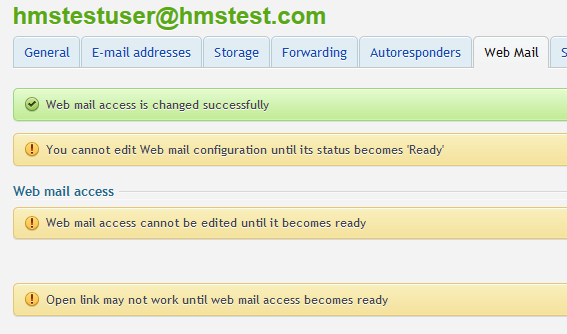
You can upgrade or downgrade your Open-Xchange (OX) mailbox plan at any time by taking a few simple steps within the customer control panel.

This article assumes that you are already familiar with how to log in to the customer control panel. If you do not know how to log in or have forgotten your password, please refer to this article first.

  • Click the Account tab.
  • Click the Buy Additional Resources link.
  • Select the subscription with the Open-Xchange mailbox you want to upgrade.
  • Click the plus (+) sign next to Premium mailbox or Business mailbox to increase your total mailboxes by however many you need.
  • Follow the rest of the ordering process to submit a payment and wait for the Order Status to show Complete.
  • Now that the new mailbox plan is ordered, you can upgrade the mailbox! Click the Mail tab.
  • Click the username to upgrade.
  • Click the Web Mail tab.
  • Click the Edit button.
  • Select the new mailbox plan and click Submit.
  • You may see a few yellow warning boxes. These are OK! Your new upgraded mailbox is ready to use!

If you have any further questions that were not answered in this article, please contact us.

(0 vote(s))
This article was helpful
This article was not helpful

Comments (0)
Copyright © 2016 HostMySite